VirtualBoxで仮想環境を構築しUbuntuをインストールする方法
WindowsでLinux系でしか動作しないソフトを動かしたり、サーバー構築のテスト環境などを作りたいという時、仮想環境を作ると便利です。
ここでは仮想環境構築ソフトの「VirtualBox」を使用してUbuntuをインストールするまでを解説します。
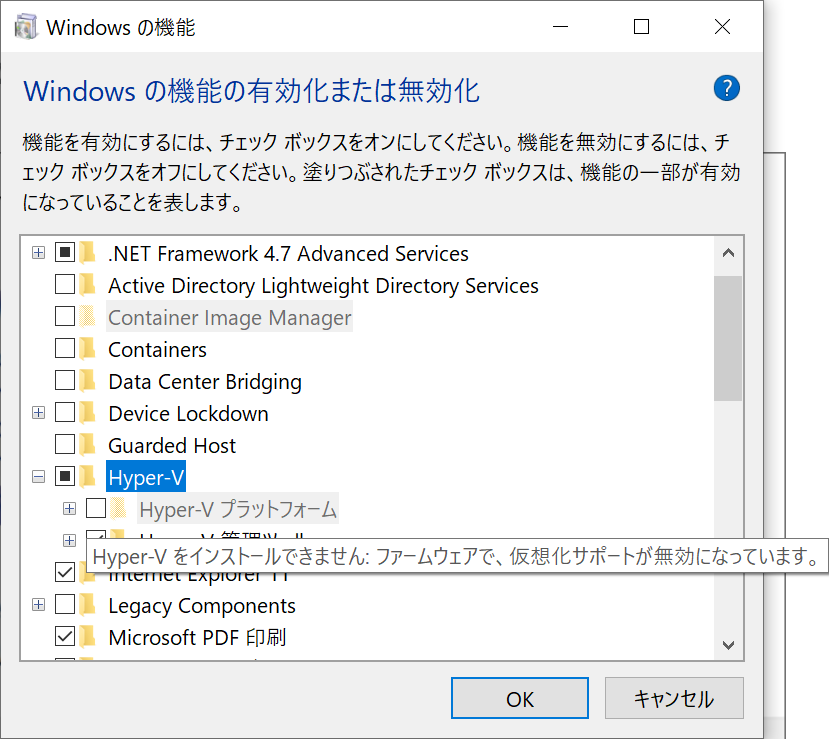
仮想化技術の有効化
仮想環境を構築するためにはまずBIOS設定で仮想化技術を有効化する必要があります。
VirtualBoxのダウンロード
最初にVirtualBoxのダウンロードをしていきます。
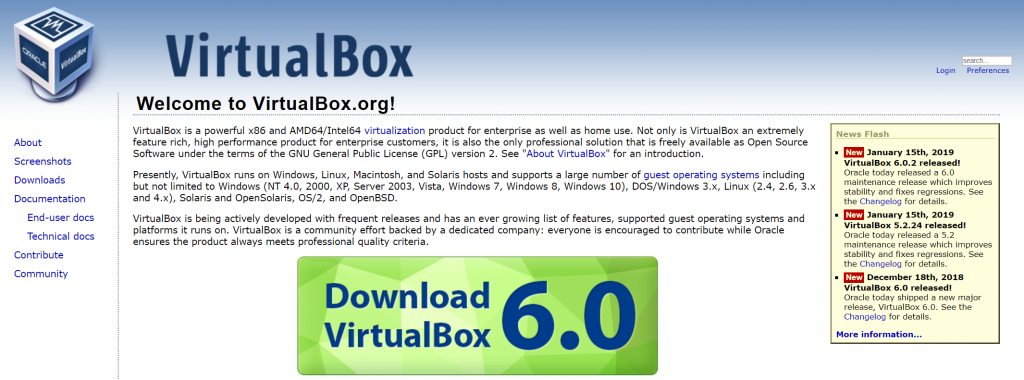
以下のサイトにアクセスします。
でかでかと「Download VirtualBox 6.0」と表示されているボタンをクリックします。
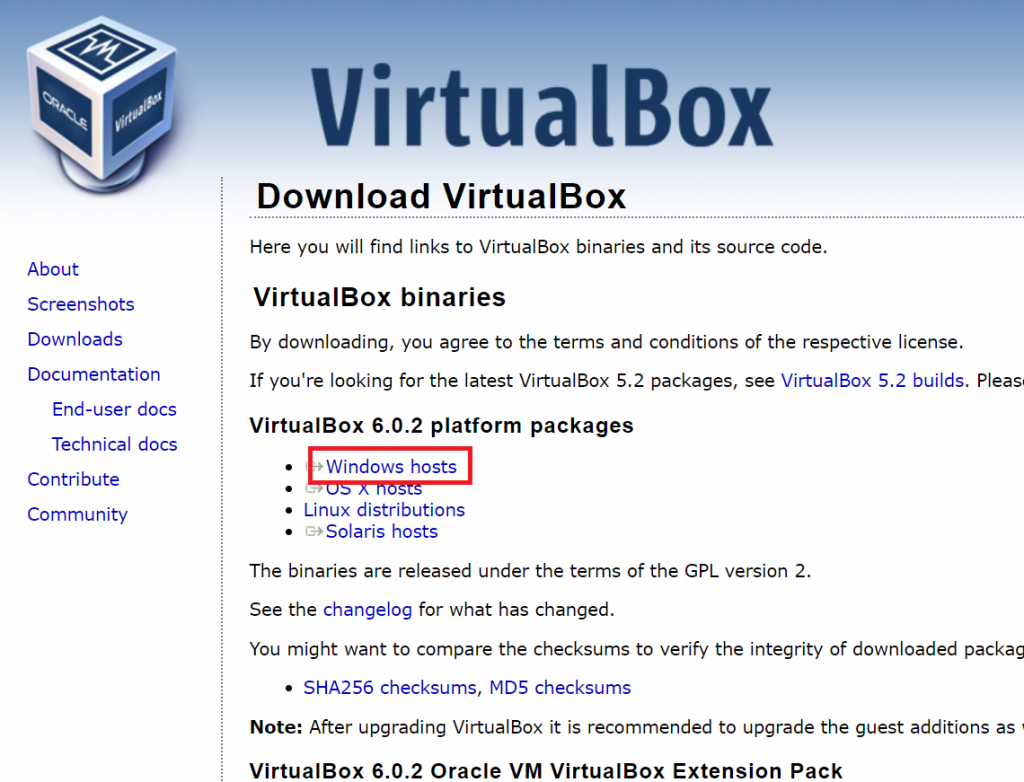
仮想環境を構築するOSを選択します。
Windowsにインストールするので「Windows hosts」をクリックします。
クリックするとダウンロードが始まります。
インストール
このようなファイルがダウンロードされるので、実行します。
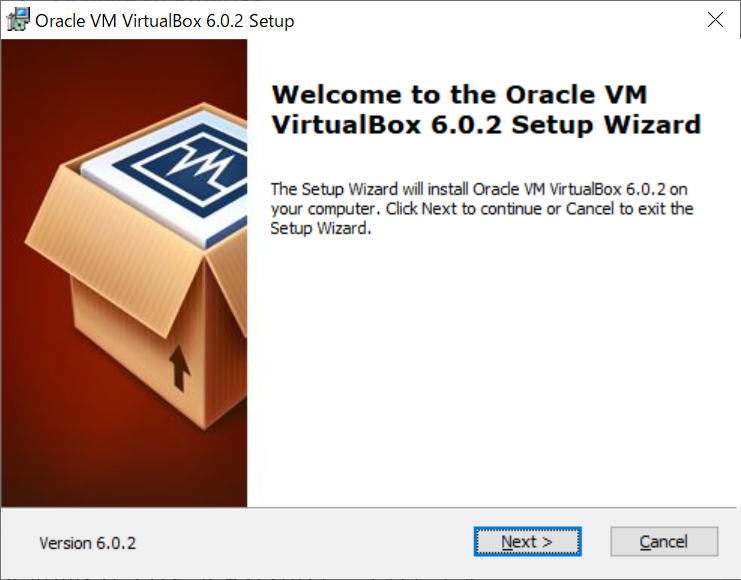
インストール画面が立ち上がります。「Next」をクリックします。
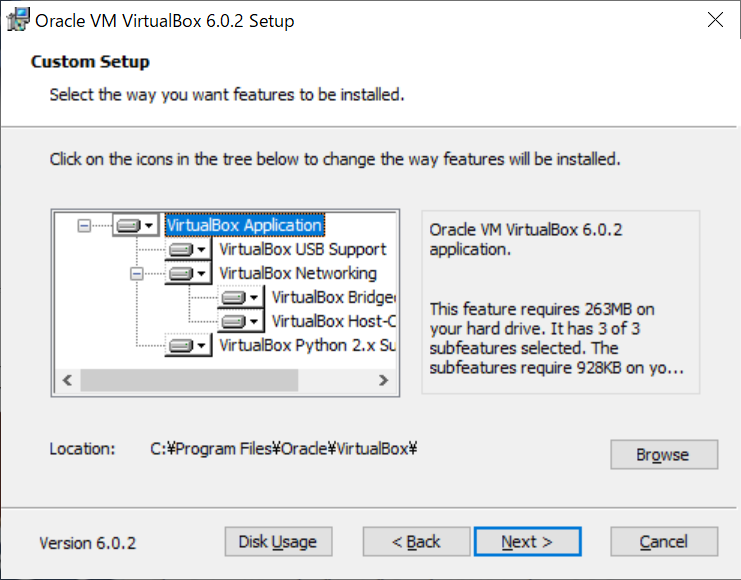
ここはこのままの設定で問題ないので「Next」をクリックします。
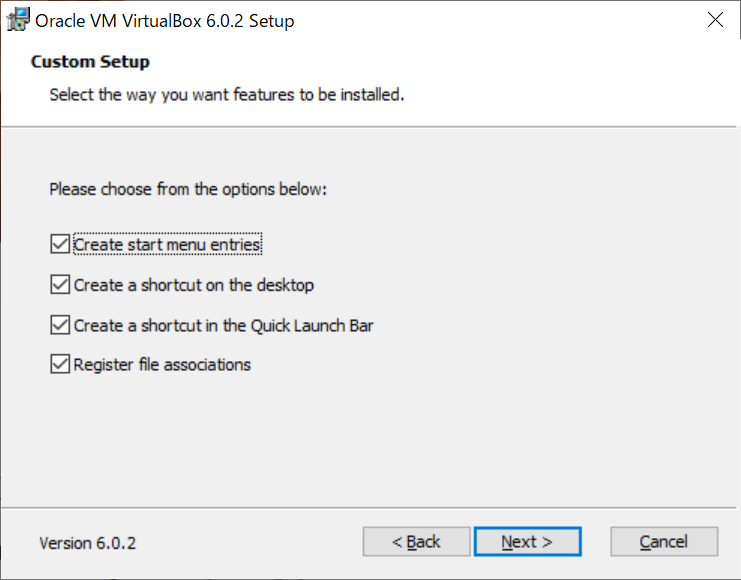
同じく「Next」をクリックします。
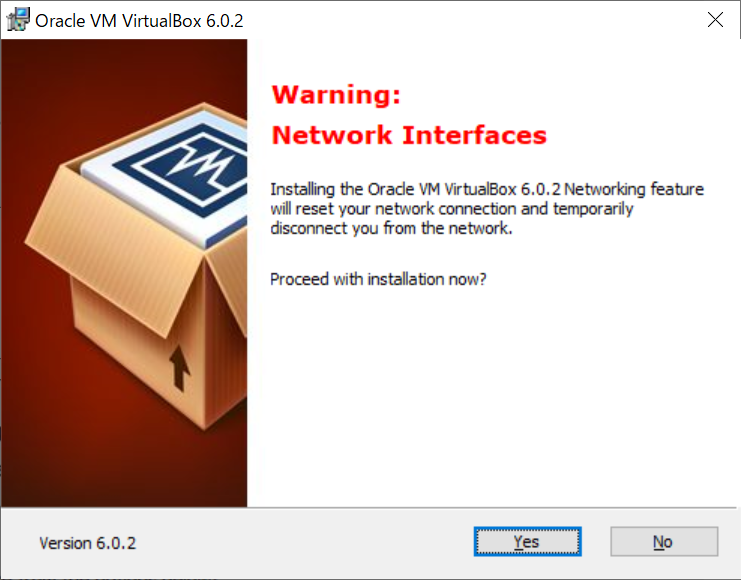
メッセージ内容を簡単に言うと、「ViurtualBoxのインストール中に一時的にインターネット接続が切断されるがいいか?」ということですが、問題なければ「Yes」をクリックします。※直ぐにインターネットに繋がります。
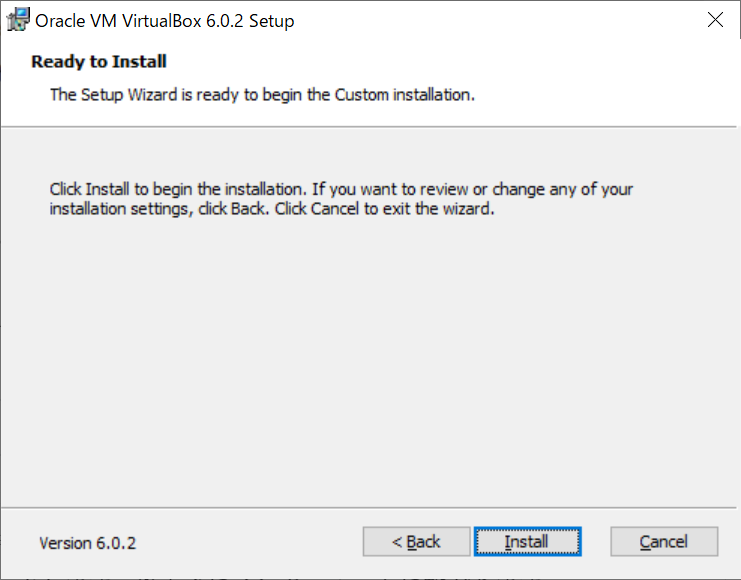
「Install」クリックでインストール開始です。
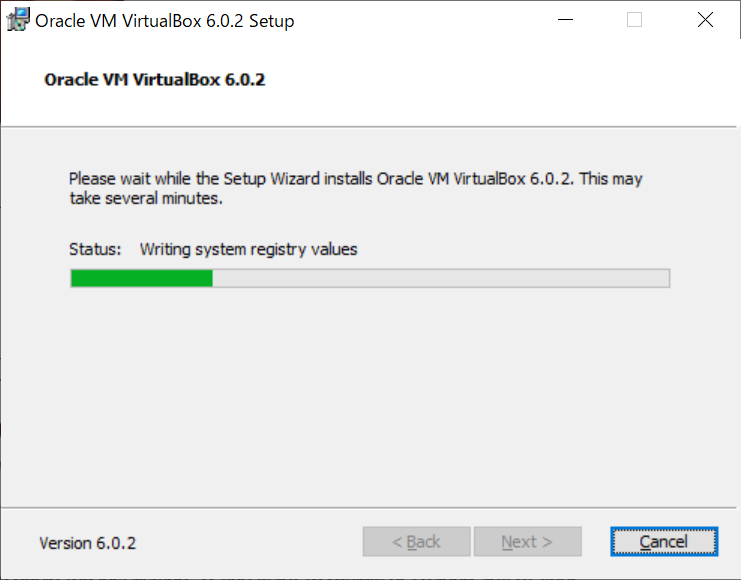
インストールが終わるまで待ちます。
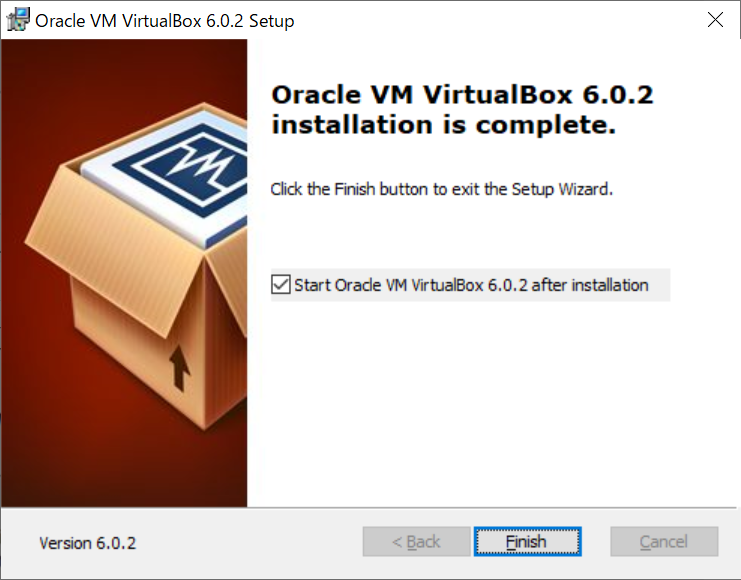
インストール完了です。「Finish」をクリックをすると、ViirtualBoxが起動します。
VirtualBoxの設定
起動画面になります。
画面右側の「新規」をクリックして仮想環境の設定を作っていきます。

「仮想マシンの作成」画面では、仮想環境の名前とOSのタイプ、バージョンを選択します。今回ダウンロードしたUbuntuは以下の設定でOKです。
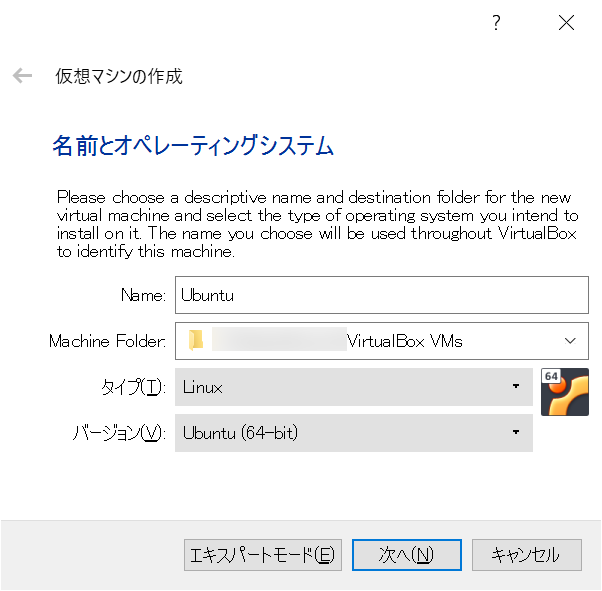
「次へ」をクリックします。
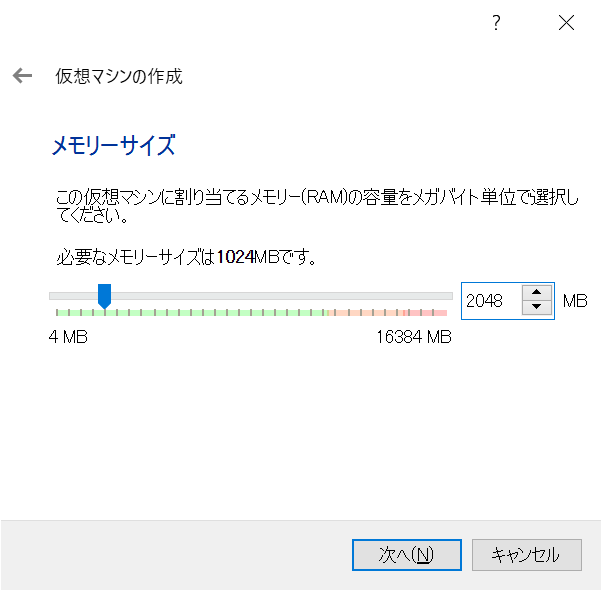
メモリーサイズの設定です。Ubuntuの推奨は2GB以上なので2048MBに設定します。ここは使っているパソコンのメモリと共有になるので、Windowsが動作するメモリと仮想環境が使用するメモリの合計が搭載メモリ容量を満たすように調整する必要があります。Windows10 64bitでは最低2GB必要なので、パソコンのメモリが4GB以上は必要になります。
搭載メモリの確認方法は別記事で紹介しています。
「次へ」をクリックします。
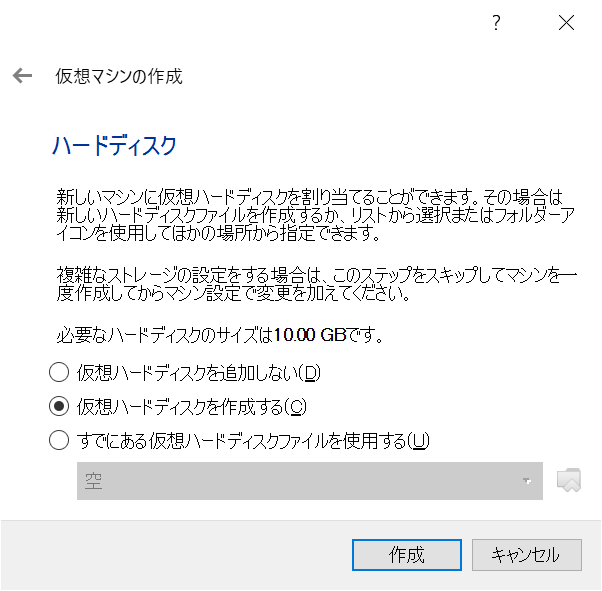
仮想ハードディスクを作成していきます。Ubuntuをインストールするための仮想的なハードディスクです。実体は大容量のファイルになっています。
Ubuntuの推奨は25GBになっています。パソコンの容量が足りるか確認してください。
「作成」をクリックします。
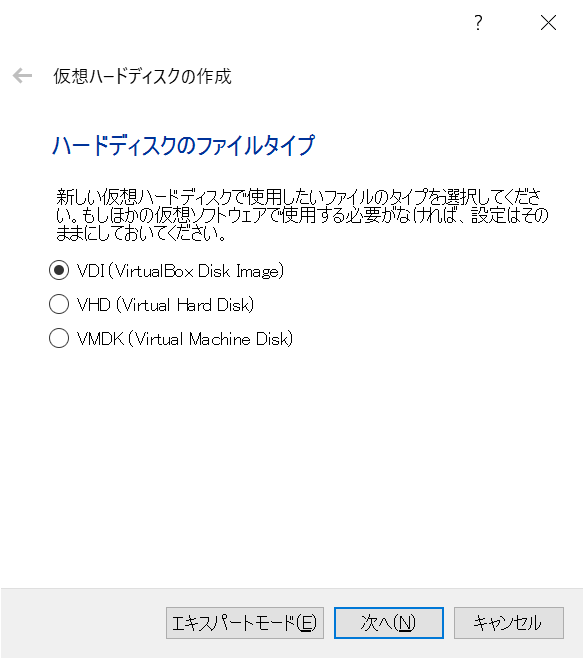
「VDI」にチェックを付けて「次へ」をクリックします。
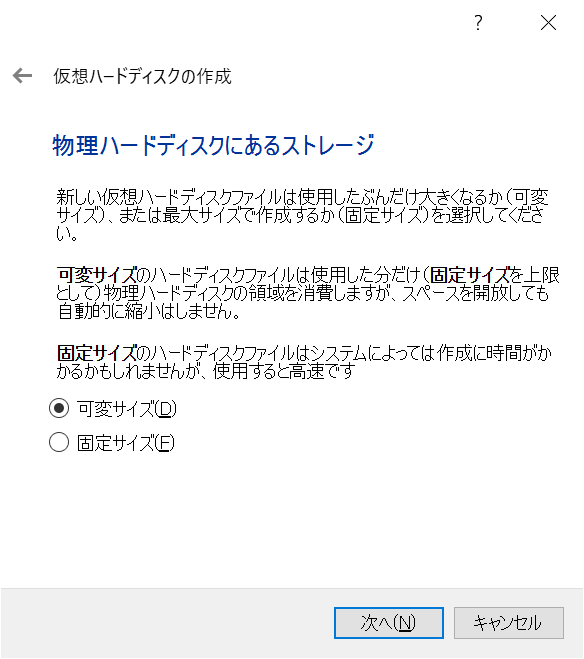
「可変サイズ」にチェックを付けて「次へ」をクリックします。
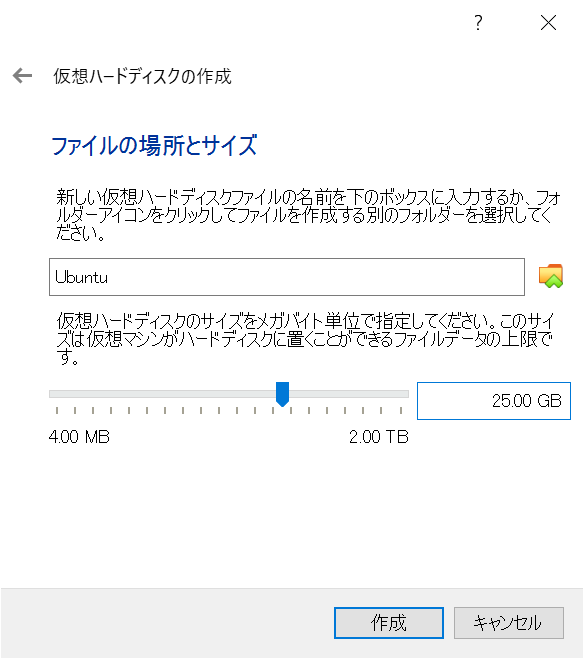
ファイルサイズを「25.00 GB」に設定し、「作成」をクリックします。
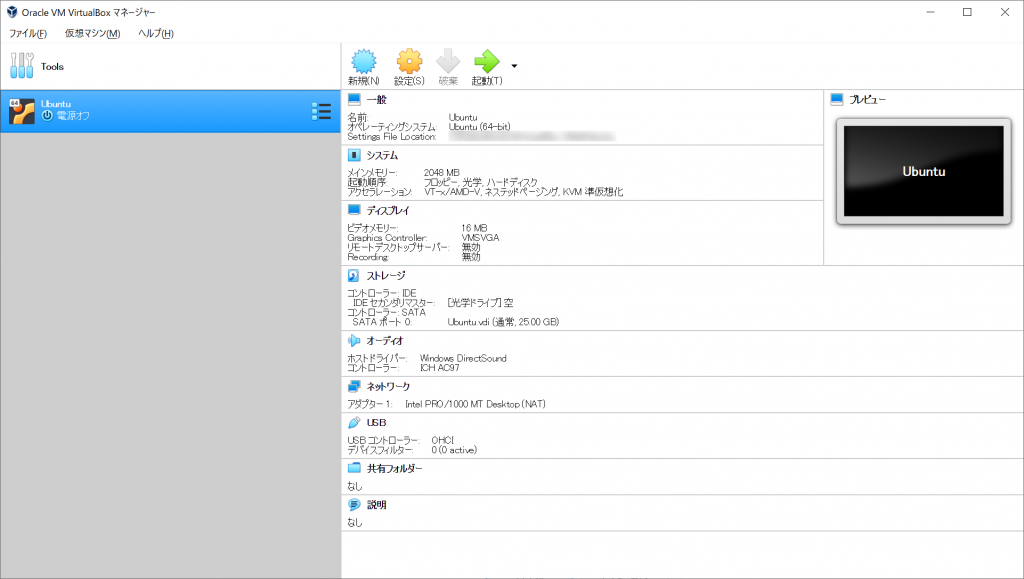
仮想環境の設定はこれで完了です。
Ubuntuインストール
インストールするUbuntuを先ずはダウンロードしていきます。
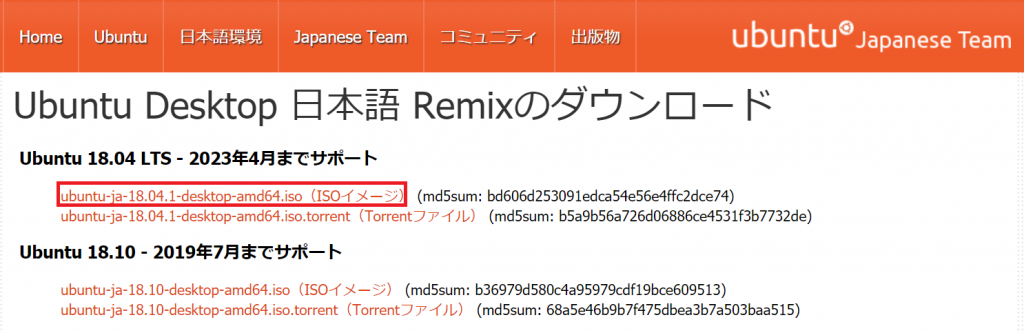
Ubuntu公式サイトへアクセスします。
https://www.ubuntulinux.jp/download/ja-remix
「ubuntu-ja-18.04.1-desktop-amd64.iso(ISOイメージ)」をクリックしてISOファイルをダウンロードします。
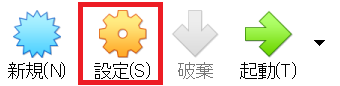
VirtualBoxの「設定」をクリックします。
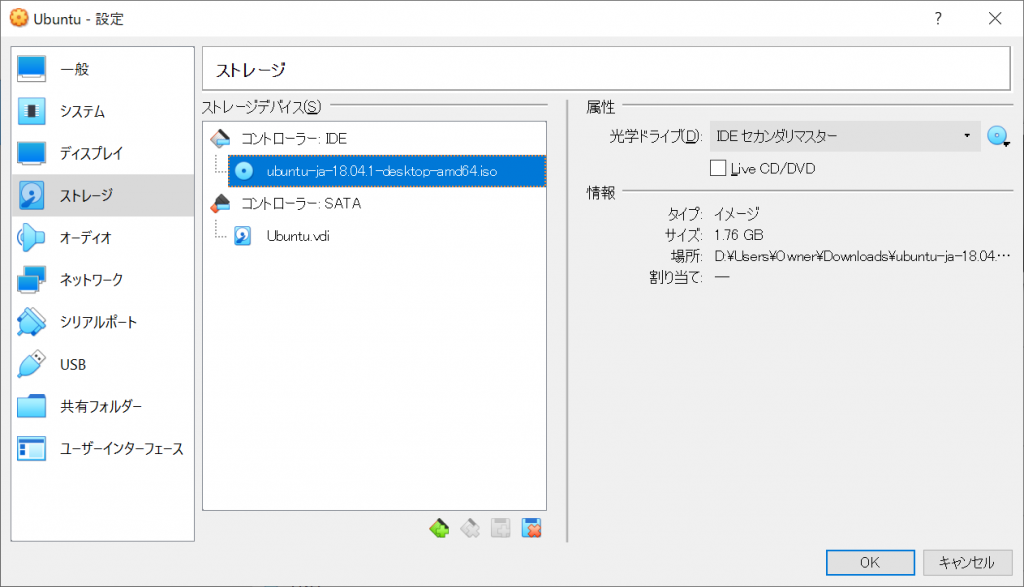
設定画面が開くので、「ストレージ」→「空」→「CDのアイコン」→「仮想工学ディスクファイルを選択...」の順にクリックします。

ファイル選択ダイアログが表示されるので、ダウンロードしたUbuntuのISOファイルを指定します。
選択できたら「OK」をクリックします。
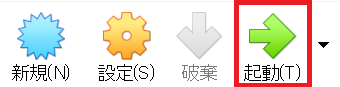
Ubuntuの「起動」をクリックします。
仮想環境が立ち上がります。Ubuntuのインストーラが起動するまで暫く待ちます。
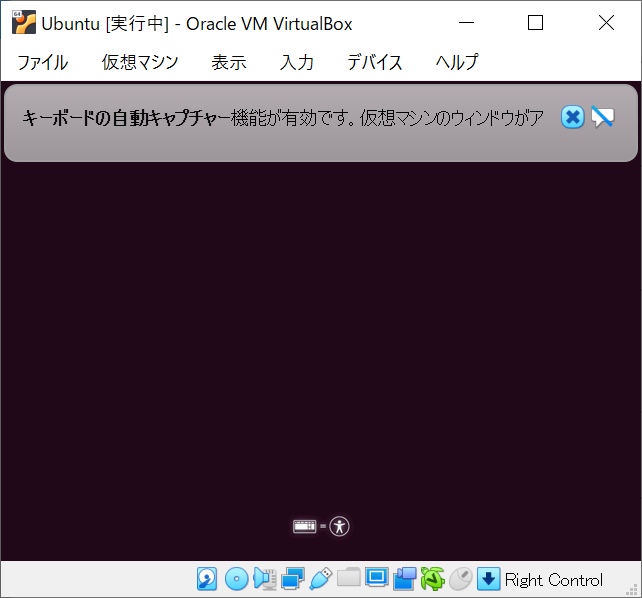
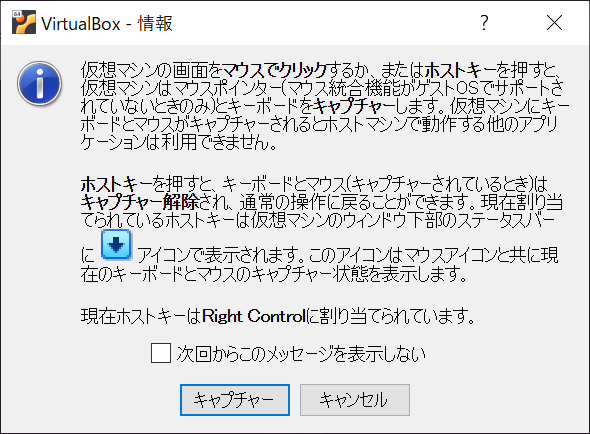
仮想画面をクリックすると以下の画面になります。「キャプチャー」をクリックするとUbuntuでのマウス操作ができますが、Windows側のマウス操作が出来なくなります。これを戻す為には、「Right Control(キーボード右側のCtrlキー)」を押します。
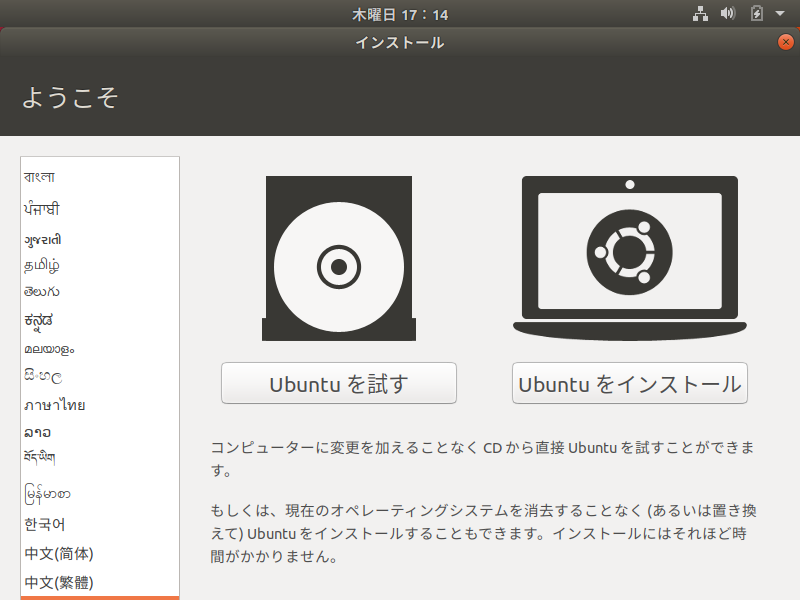
Ubuntuのインストール画面が起動しました。「Ubuntuをインストール」をクリックします。
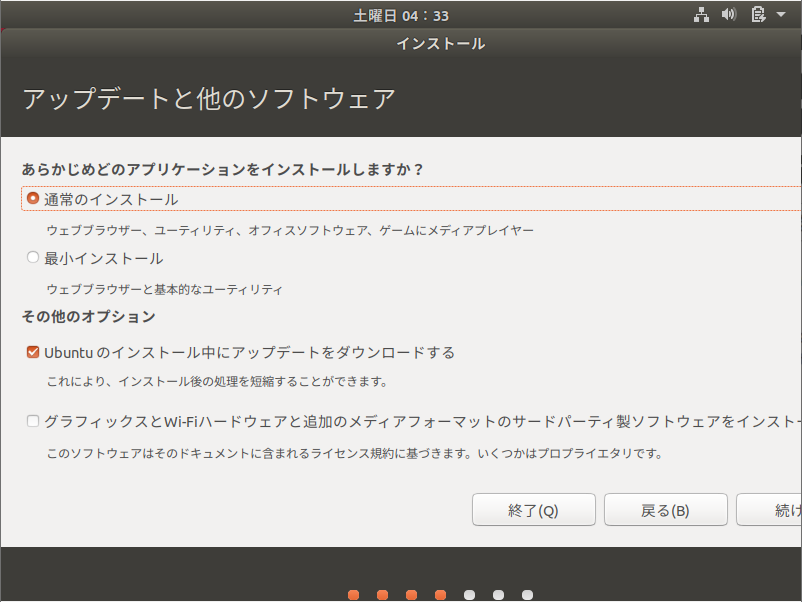
「通常のインストール」、「Ubuntuのインストール中にアップデートをダウンロードする」にチェックが付いているのでそのまま「続ける」をクリックします。見切れていますが、インストール後に調整可能です。
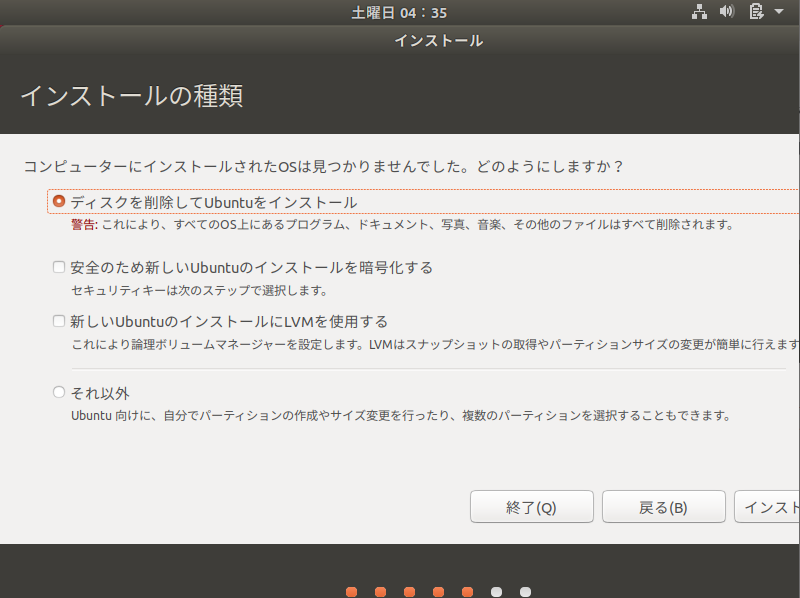
作成した仮想にインストールするので「ディスクを削除してUbuntuをインストール」のままで良いです。「インストール」をクリックします。
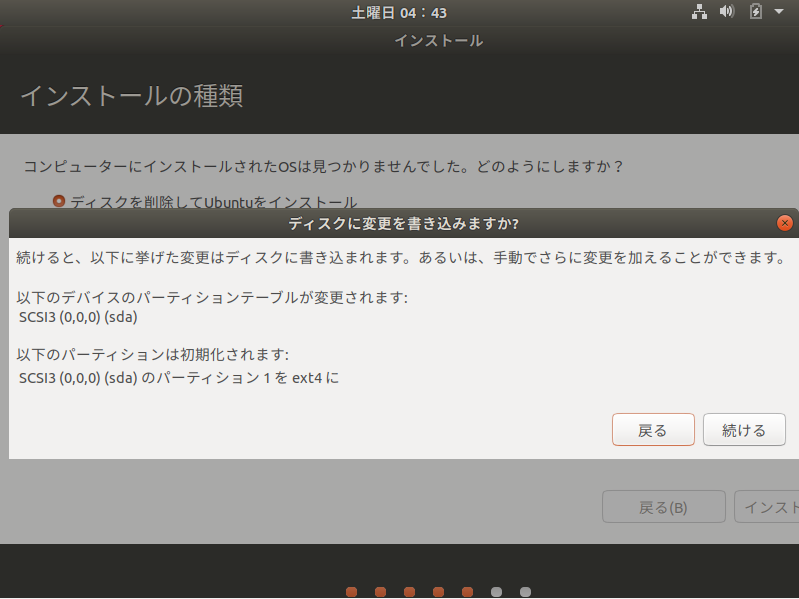
ディスクへの書き込みの確認が表示されるので「続ける」をクリックします。
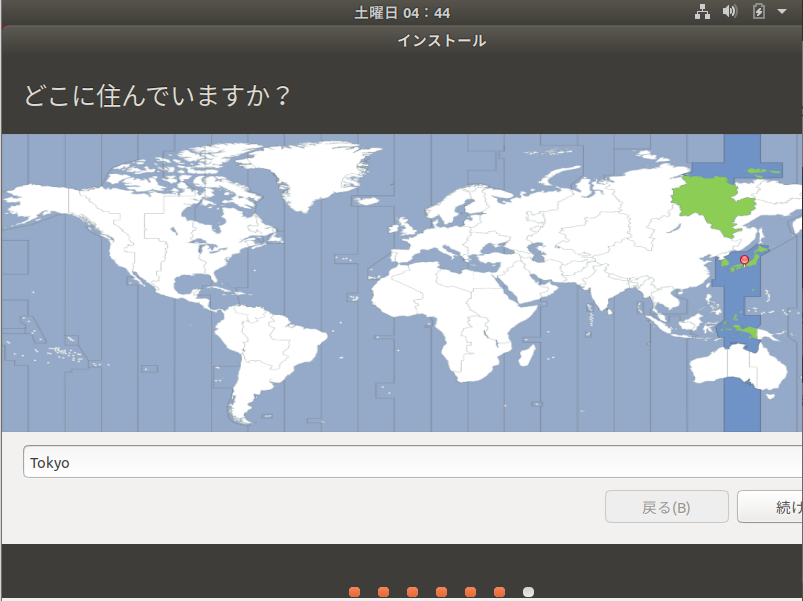
所在国の設定です。「Tokyo」のまま変更せず「続ける」をクリックします。
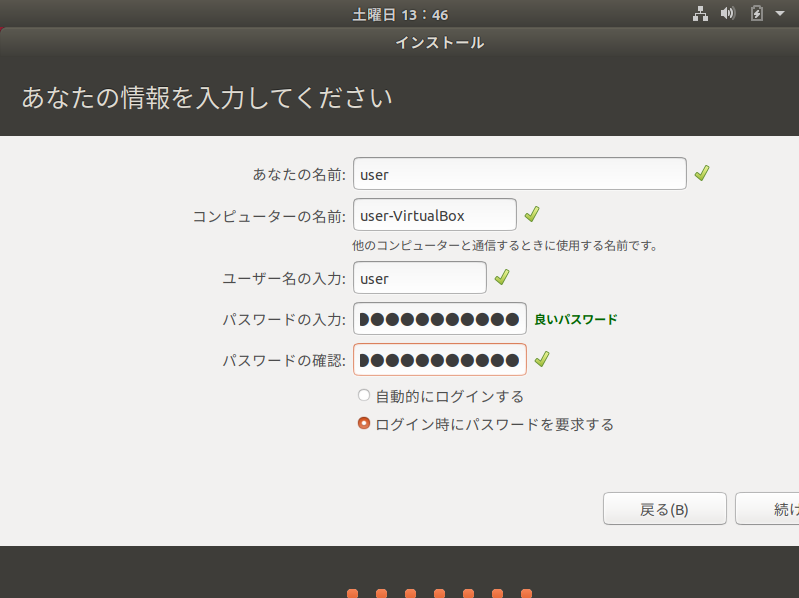
ユーザー情報を設定します。ここで設定したユーザーがログインユーザーになります。パスワードは記号と英数字の組み合わせで「良いパスワード」になります。設定したら「続ける」をクリックします。
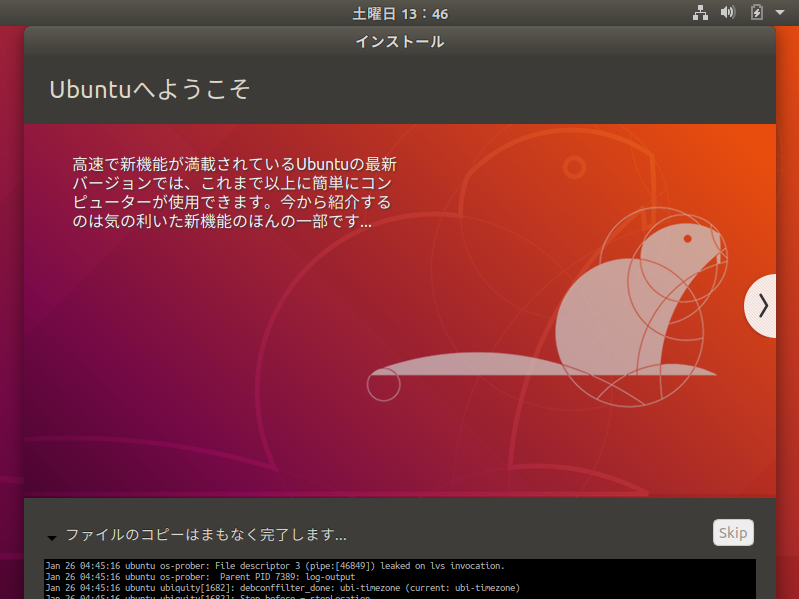
暫くインストール完了まで待ちます。
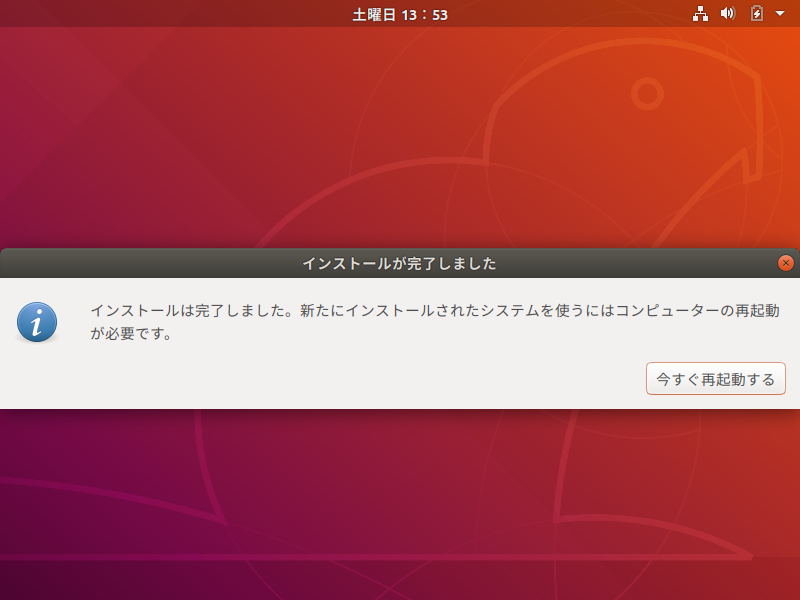
インストール完了すると以下の画面になります。「仮想マシン」→「」
ここで一旦「今すぐ再起動」をクリックせずにVirtualBoxの設定を変更して、ISOファイルを読み込まないようにします。このまま再起動するとインストールがまた始まってしまうからです。
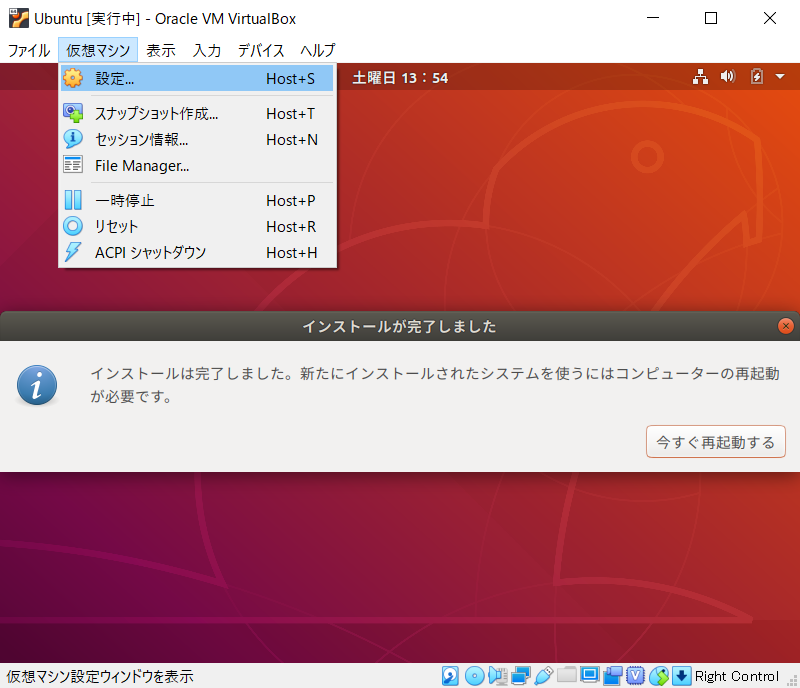
「仮想マシン」→「設定」をクリックします。
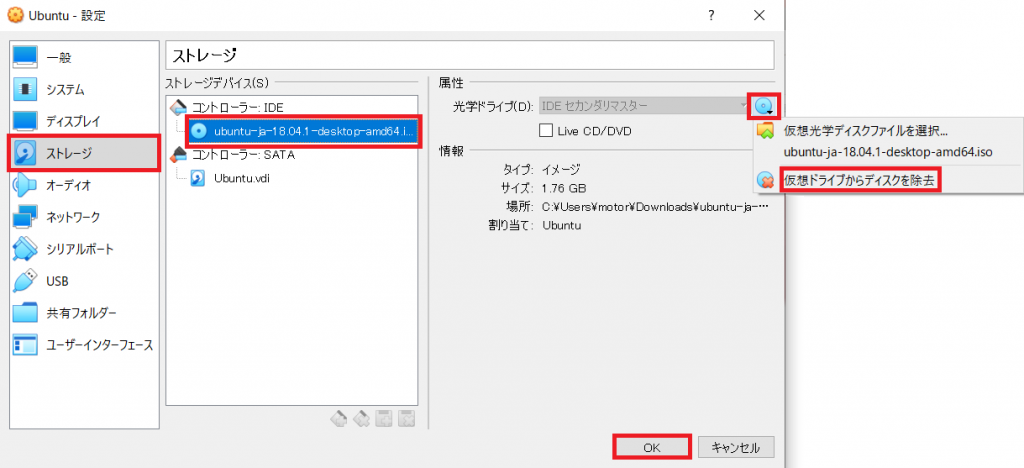
「ストレージ」→「ubuntu-ja-18.04.1-desktop-amd64.i...」→「ディスクのアイコン」→「仮想ドライブからディスクを除去」をクリックします。
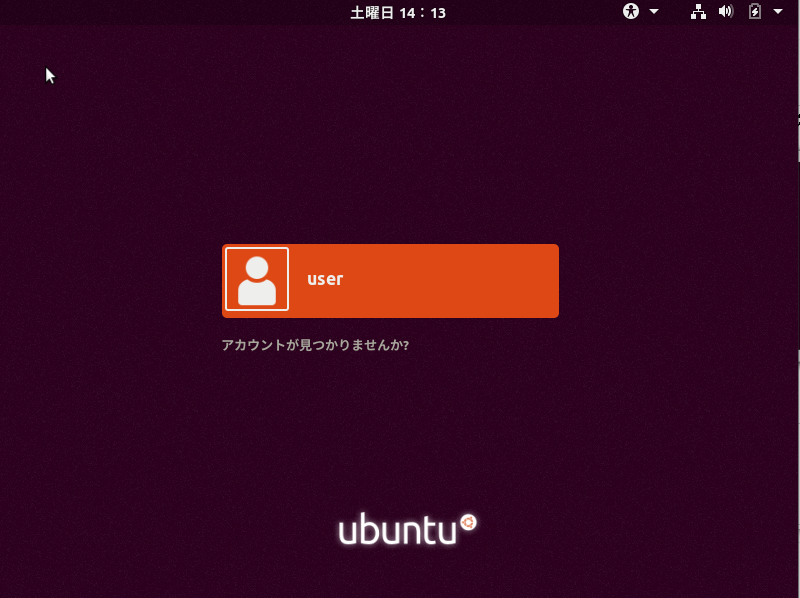
ここで仮想マシンの画面が真っ黒になると思うので、「仮想マシン」→「リセット」します。再起動が始まってログイン画面が表示されます。オレンジの枠をクリックするとパスワード入力画面が表示されます。
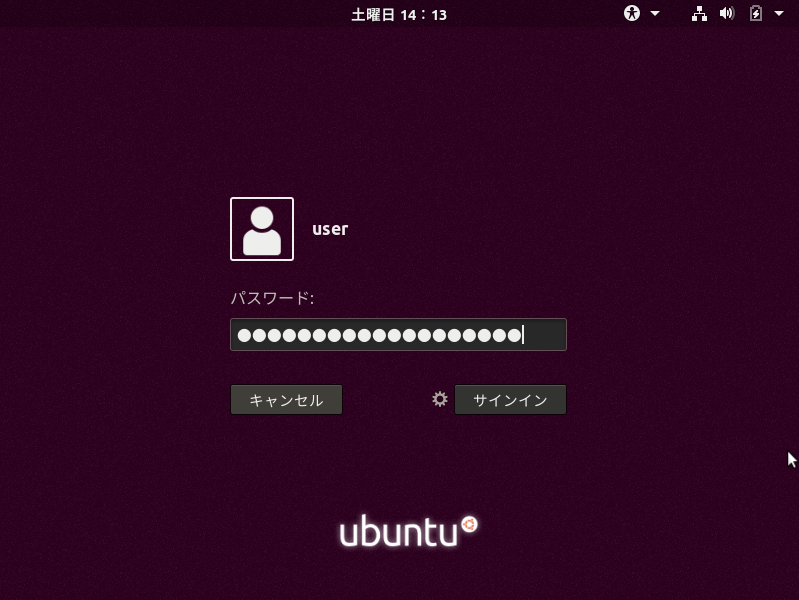
インストール時に設定したパスワードを入力し、サインインをクリックします。
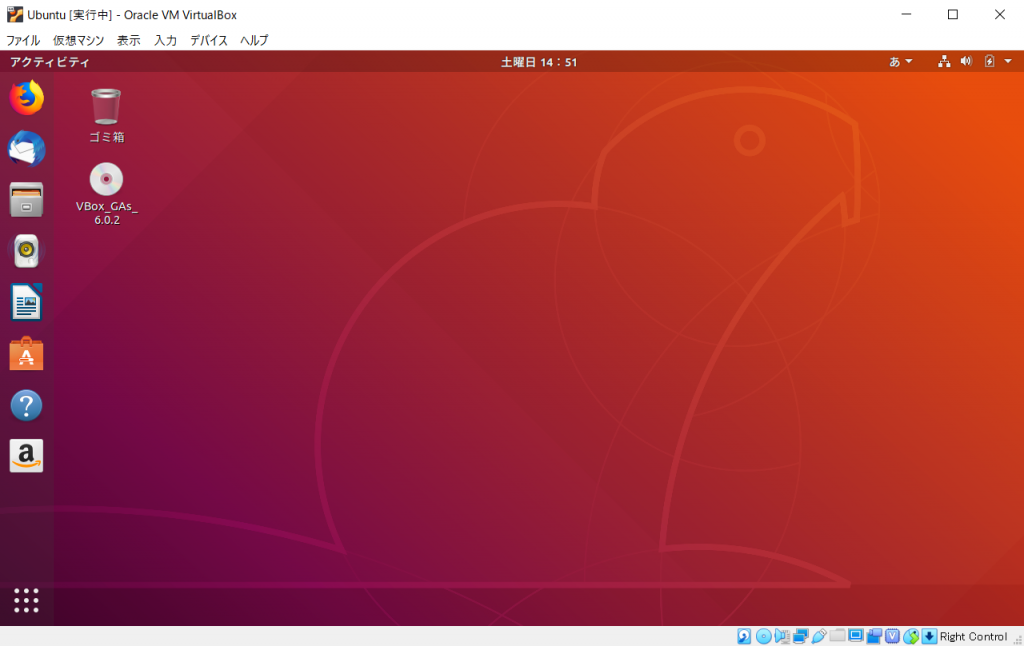
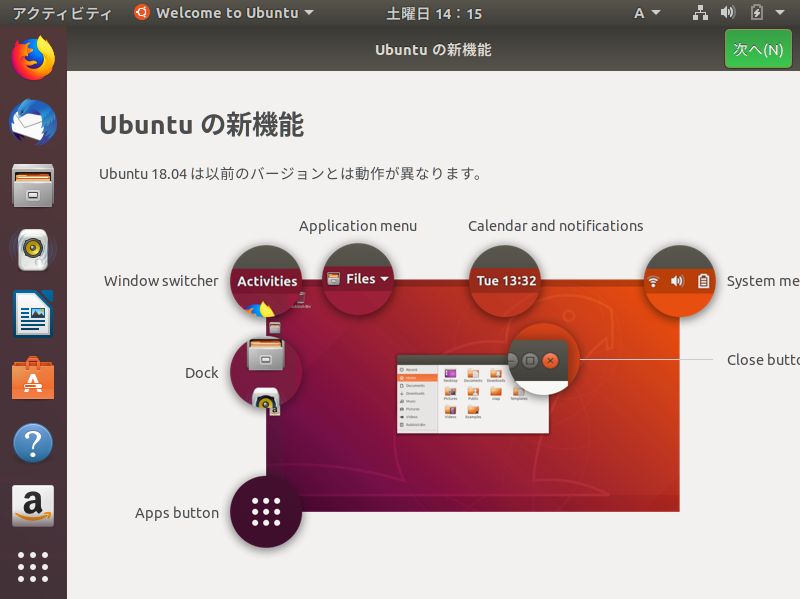
デスクトップが起動しました。インストールは以上で完了です。
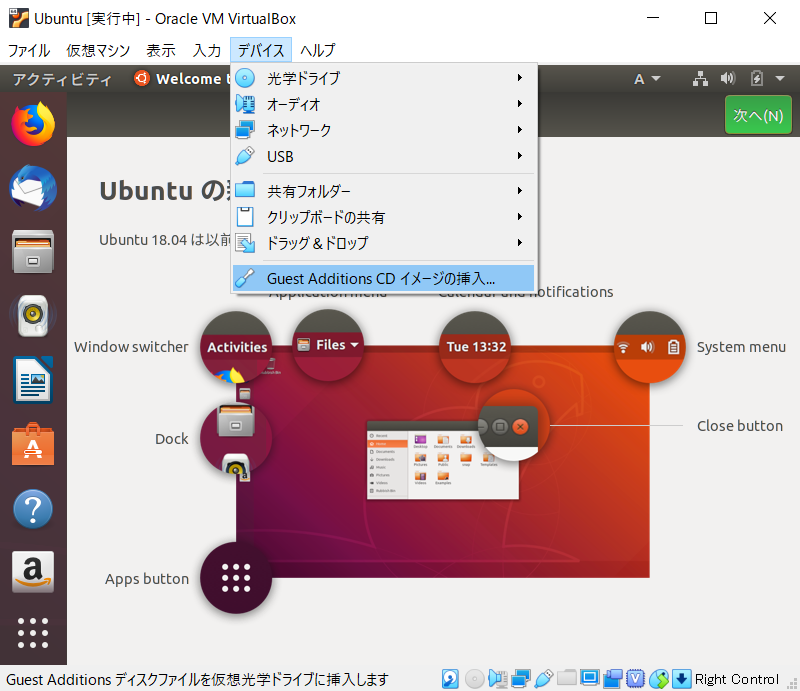
Guest Additions CDイメージのインストール
Guest Additionsをインストールします。これをインストールすると解像度の設定ができる様にります。「デバイス」→「Guest Additions CD イメージの挿入...」をクリックします。
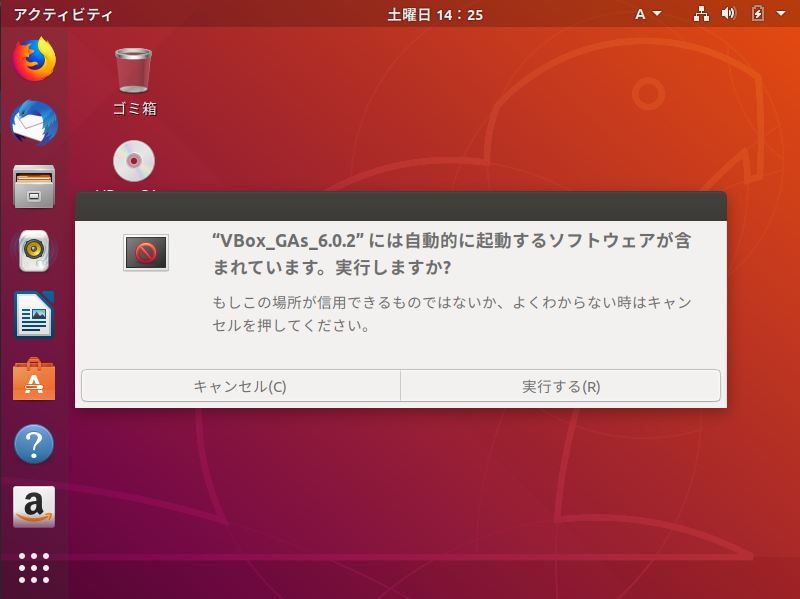
「VBox_GAs_6.0.2には~」とメッセージが表示されるので「実行する」をクリックします。
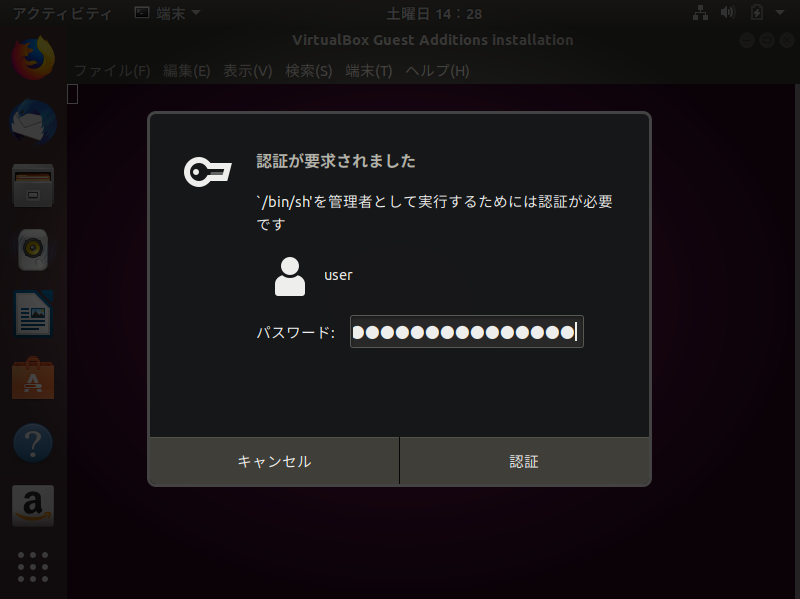
パスワードを求められるのでインストール時に設定したパスワードを入力して「認証」をクリックします。
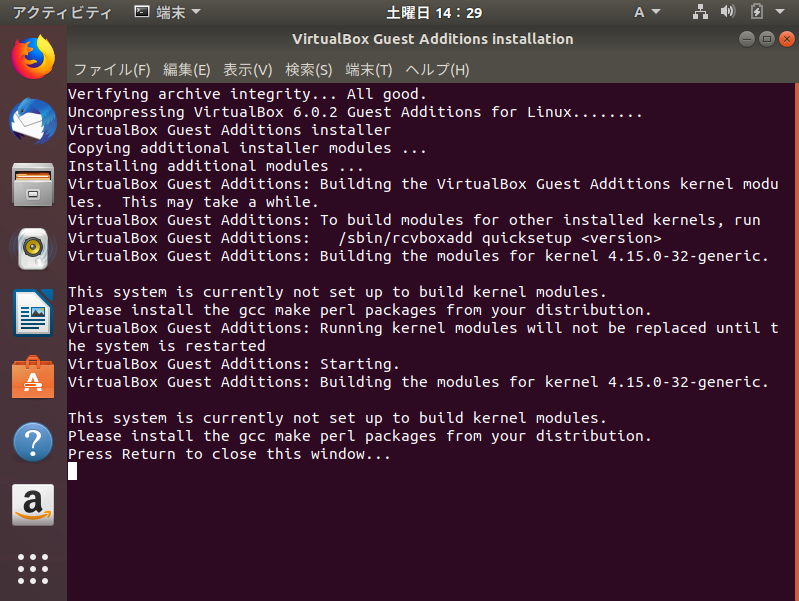
端末が起動してインストールが始まります。最後に「Press Return to close this window...」と表示されたらEnter等を押して閉じます。
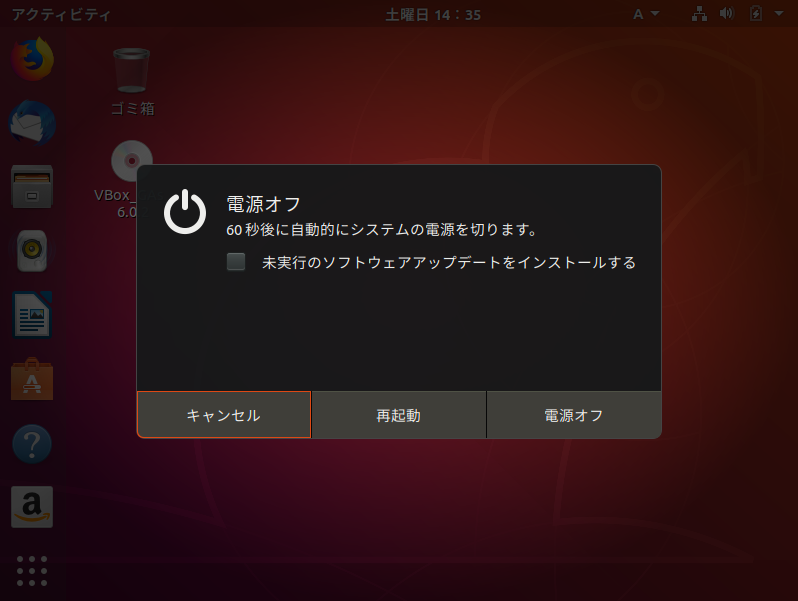
インストールしたら再起動します。
右上のバー→「電源アイコン」の順にクリックします。

「再起動」をクリックします。
再びログインし、デスクトップを表示します。
「表示」→「仮想スクリーン1」を見ると、現在の解像度が「800 x 600」に設定されているので、これを「1280 x 720」辺りに変更してみましょう。
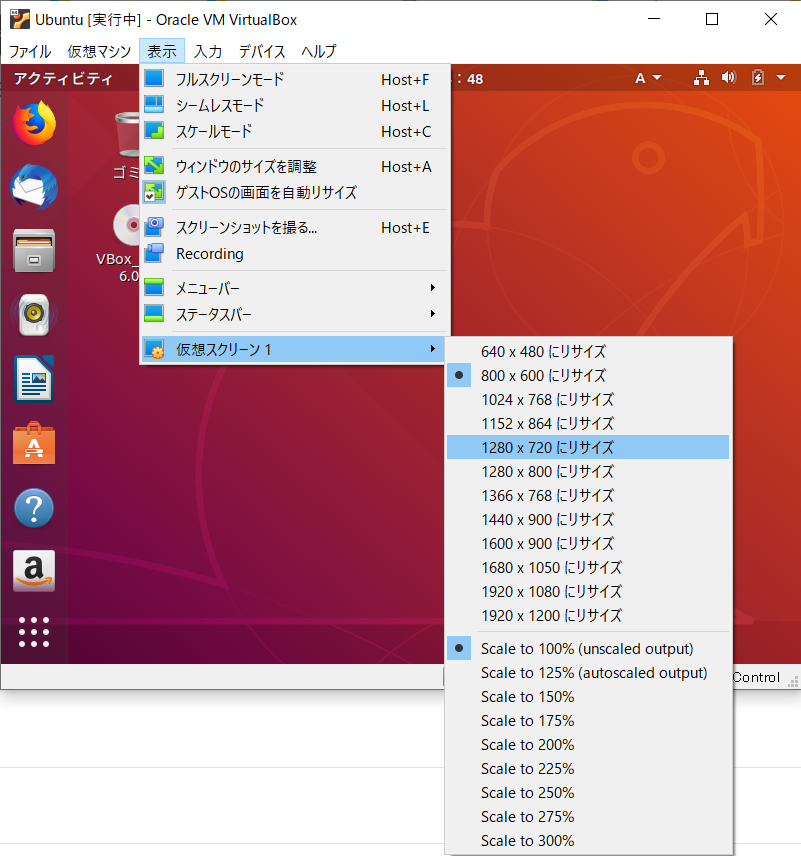
解像度が変更され画面が拡大します。自分の好みに合わせて調整してください。